

You’ve trained and configured your AI, tested it internally, added control questions to the quality control center, and improved the scores. After all that work, you are ready to set the AI live for customers on your website or users in a product dashboard.
Keep in mind: Before you can add a component, you first have to install the Unless script to the head section of your website. You can find the script along with install instructions by navigating to the Account tab of your Unless dashboard and clicking the Get Unless snippet button.
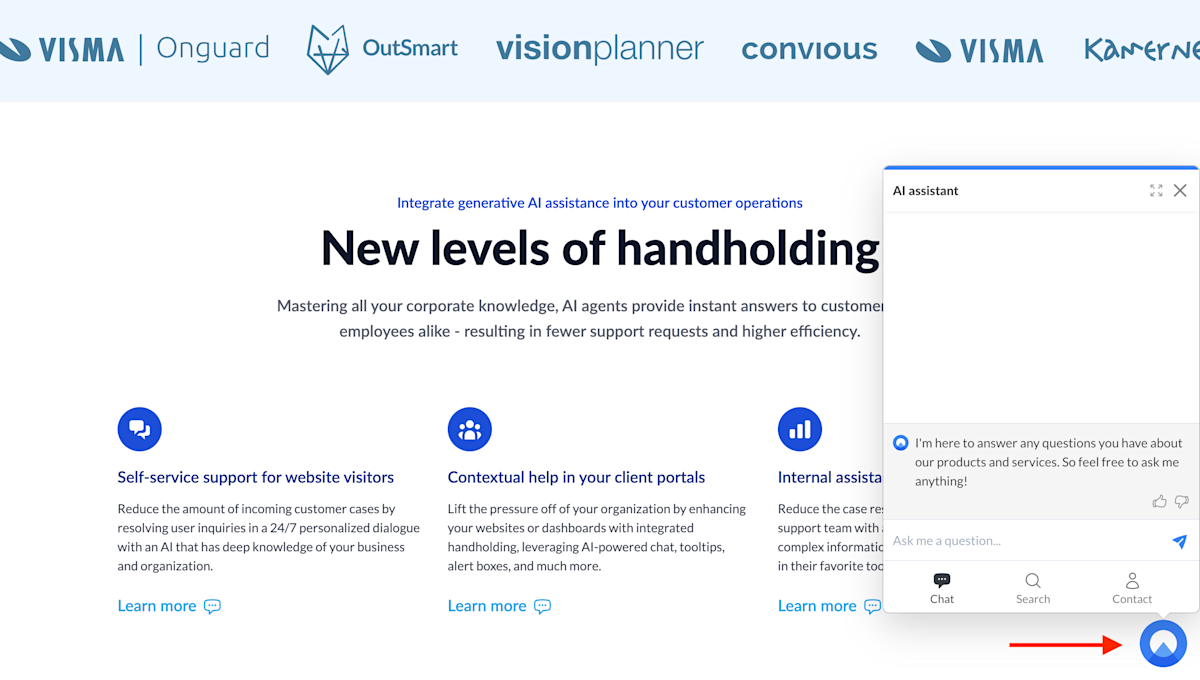
You’ve got many components to choose from but the one that first comes to mind is of course the AI starter button that we’re all used to seeing, often floating at the bottom right corner of our screens ready to be opened up with a click. Above is a screenshot from the Unless homepage with our own floating AI starter button.
Select your AI starter button of choice
Start by navigating to the Conversation starters tab and click Create component. Right at the top of the screen you will find the AI starter button templates to choose from. You can click Preview to get a better look at each one.
The top three templates are inline meaning they can be inserted anywhere on a page. The remaining three are overlays that show on top of the page, hence the term floating.

The most popular option is the ones on the right where the circle is an image and you can replace it with an image of your choosing, most likely your company logo. Alternatively, you can opt for an icon (the templates in the middle) and choose one from a long list of icon options or an icon along with text (eg. Talk to us).
Once you've made your choice, click Create component which will bring you to the Settings page of your component.
Define the component settings
The settings page for your AI conversation starter button is similar to that of any other component. You have to give it a name, define the pages it should show on, and the audience it is meant for. In the case of the AI starter button, you probably want to add it to all pages and have it be available to everyone.
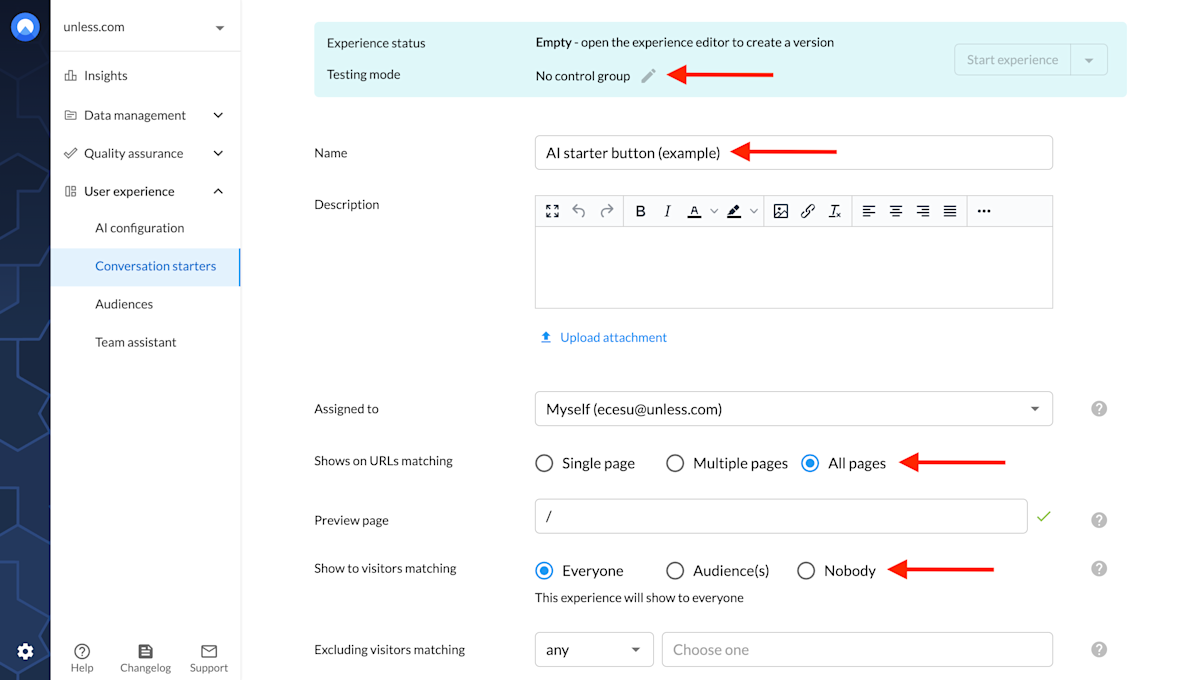
If you want to show it to only a certain audience, or only on specific pages, you can also customize that here. For example, maybe you want to add the button to all help center pages, only to dashboard pages, or to pages relevant to a specific topic. If using all pages or multiple pages, define a preview page you will use for editing and reviewing your component.
There are advanced settings available as well though these are probably not relevant in the case of this particular component. Similarly, in most cases, you will not need the testing tab either and can leave it as no control group which is the default setting.
Scroll down to click save and you are ready to open the component editor.
Edit the component
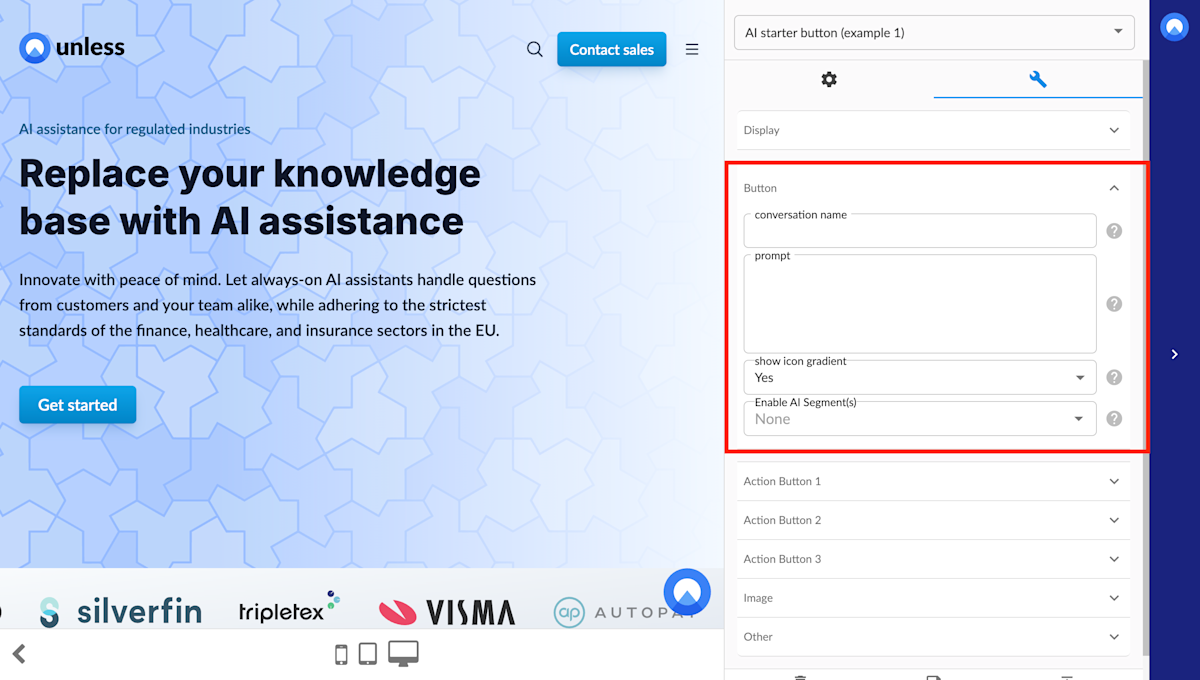
The most important field here is the prompt and the name of the conversation (which you'll see reflected in the Conversations tab and your users will see during their interaction). Optionally, you can select a topic here as well.
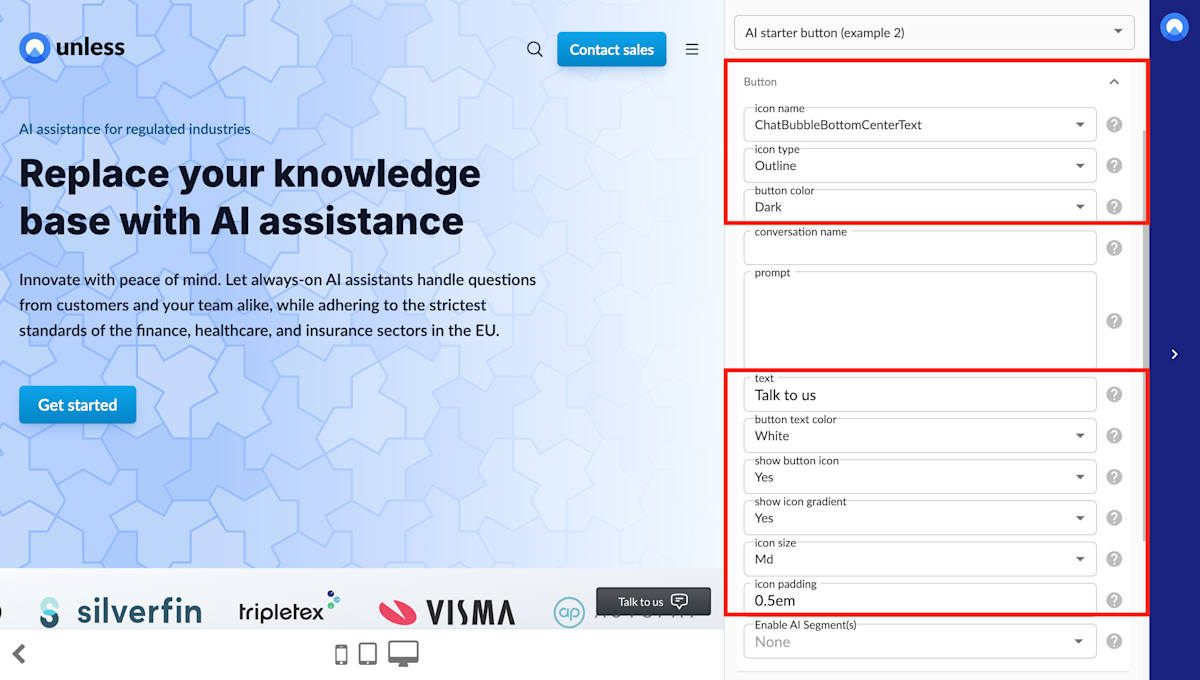
If you opted for the component with the image, you can use the Image tab in the editor to enter an image URL or upload a file directly. If you choose the button with an icon or icon and text, you will have additional fields to customize these as well.
Once you've adjusted the fields to fit your needs, you can click save and create version and publish. If you are ready to go live, make sure you go back to the previous settings page and click Start experience. You can also use the eye icon to preview the component you've created.